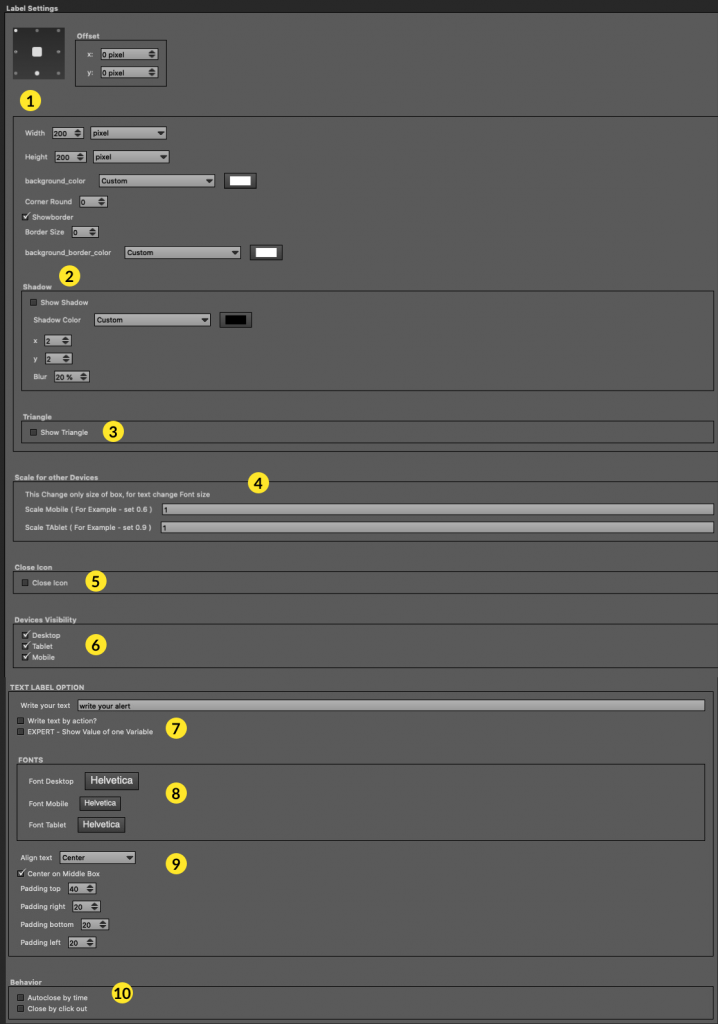
1 – Main Setting for Size and Positioning
You can
- set the location
- set the size
- set the color of a background
- set the roundness of the corners (if set 360 and the measurements of height and width are equal you will get a circle)
- set a border
2 – Set a Shadow
You can set a background shadow
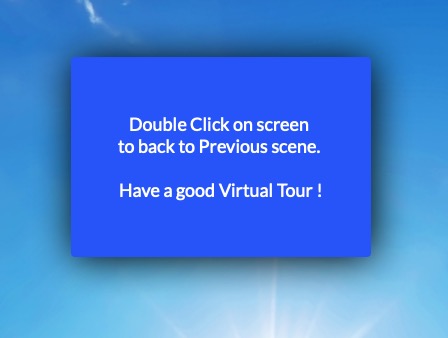
3 – Set a triangle indicator


Offset x,y cannot be set
4 – Scale for Devices
You can scale your Label, depending on the device
The text is not resized, you will have to set it, below, in the text settings.
5 – Close icon
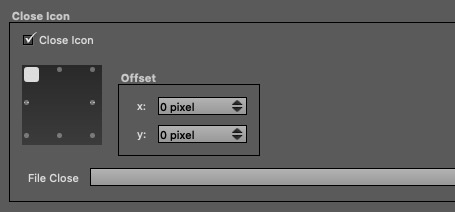
You can upload an image that will become a button to close the label
6 – Set Device Visibility
You can choose where to show the plugin
7 – Text Options
7.1 Simple text

7.2 Text by Call Action


You can write content when you call the plugin from an action.
This way you can use only one instance of Label to write different things.
7.3 Expert

in this way you can recall the value of a variable.
For example if it is used in combination with Automator Plugin, I have if you are experienced with the Krpano code.
In this Label + Automator demo, you can see the use of the stagewidth variable in the blu label at the bottom right : https://www.panotourplugin.com/lab/automator/index.html
8 – Font Typografy and size
Choose a font and size based on your device
9 – Paragrapher Settings
Set text alignment and padding of text block
10 – Set Behavior
10.1 Set Autoclose by Time
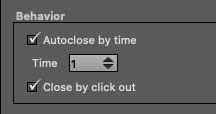
Set a time to close the label automatically
10.2 Close by Click
Close with a click, the Label will close by clicking on each part of the tour
