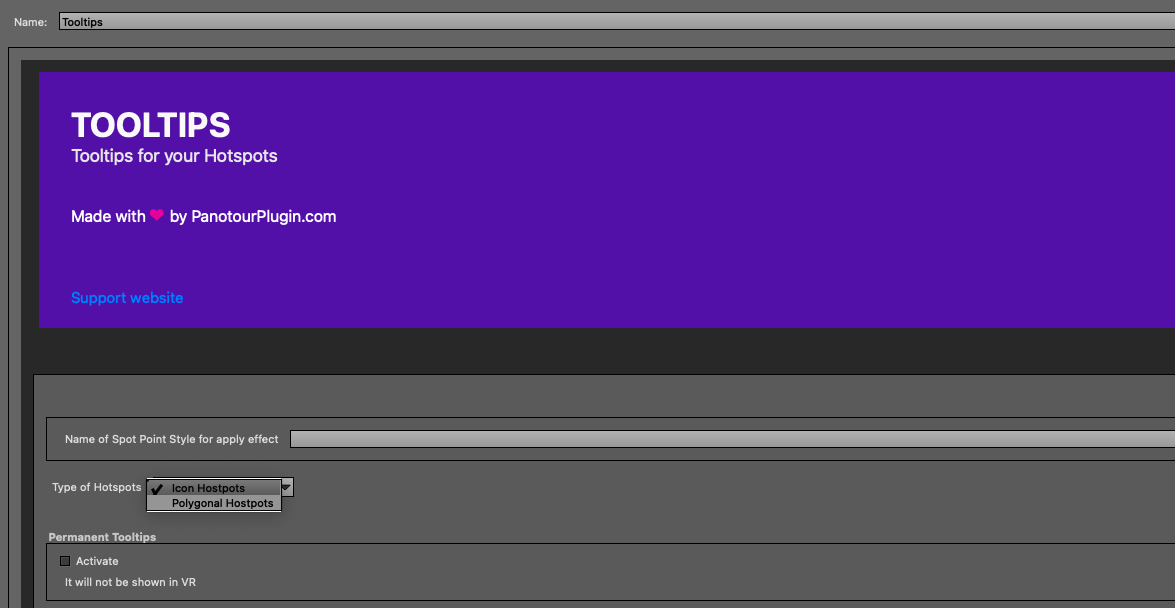
First enter a name for the plugin instance, do not use spaces.
Enter the style (hotspot name) that must be connected to the plugin, without spaces.
Choose the type of Hotspot, whether Polygonal or Point.
You can make it permanently open by checking the relevant box.
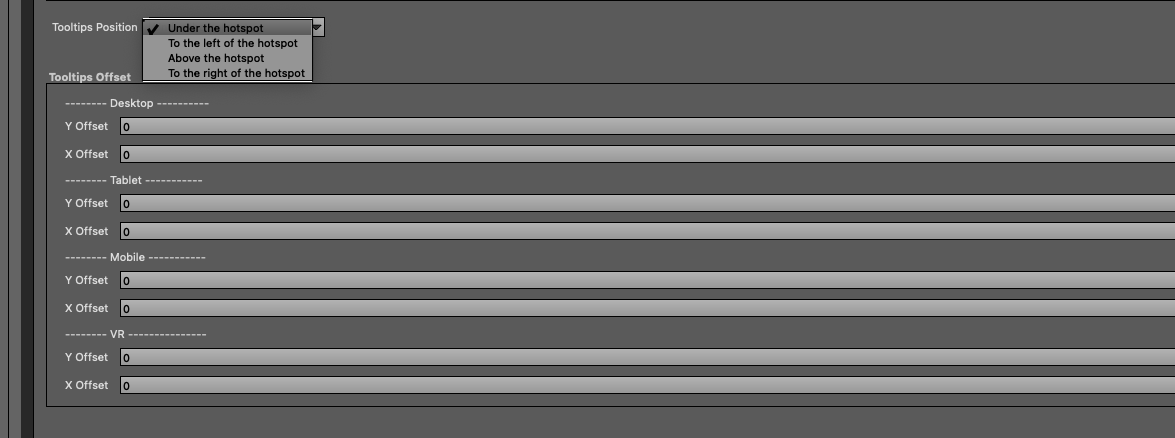
Here you can decide where you want it to be displayed and the relative distances, with the differentiation of devices.

In this section which is mandatory, you will have to indicate what type of hotspot it is, if it opens a scene, or if it is linked to an action (open image, open website, etc)
If it is linked to an action in VR mode it will not be displayed as it is not supported in Krpano / Panotour.

You can use a trick to display the hotspots that show only the Tooltips (such as use of information on a point or a polygon.
The trick is to set the hotspot actions with linking to a scene, the plugin will take that action off, but it will still show in VR.
You can also decide to create an instance of Tooltip only visible in VR, by checking the relevant box.

You can insert an indicator, changing the size according to your preferences and the arrangement of the Tooltips
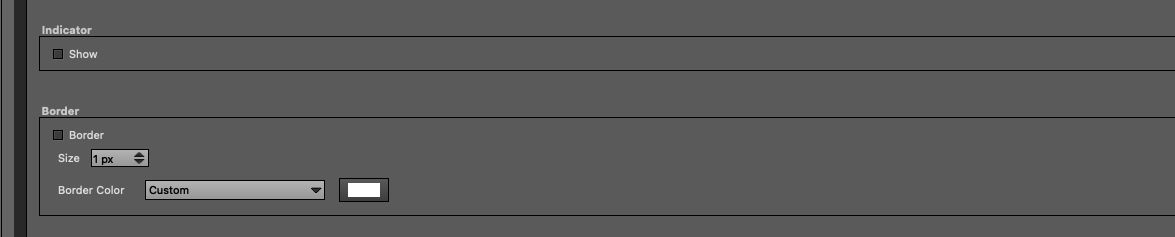
You can also use a border of the tooltips but only if the indicator is disabled.
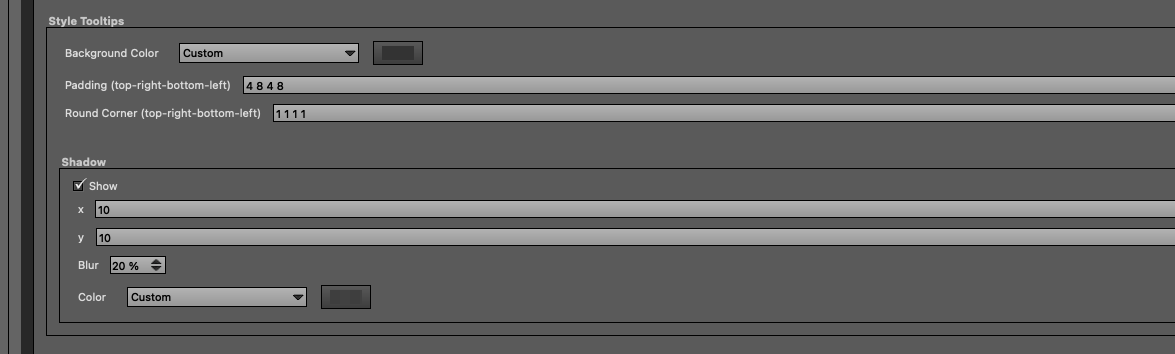
In this section you can set the background color, text padding, and rounded corner.
You can also set the shading
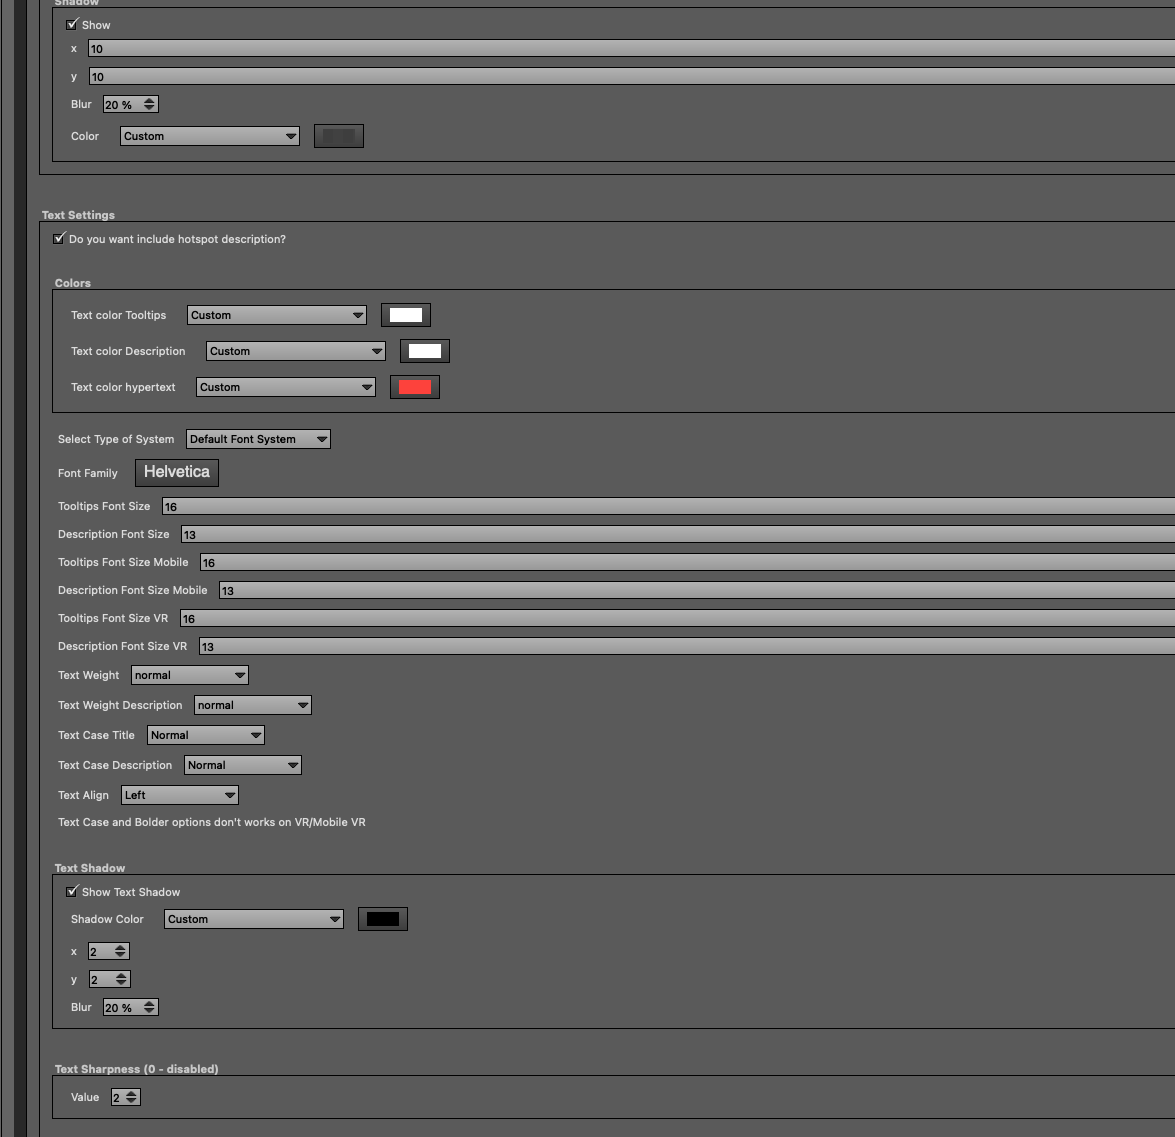
In this section there are all the settings regarding the formatting of the text, you can use the installed fonts or those of google font / adobe Fonts
Some formatting (indicated in the plugin) will not work in VR because Krpano support is missing.
Basically the plugin reads the hotspot Tooltips, you can also show the description of the hotspot by checking the relevant box.
If any hotspot does not have the description, it will not be shown.
A note regarding the size of the Tooltips, when there is only the Tooltips the text will be centered, in case you enter a description, you will have to go to the head in the text to create a structure. If you write all the text without breaking a line, a very long tooltips will come with all the description in full.

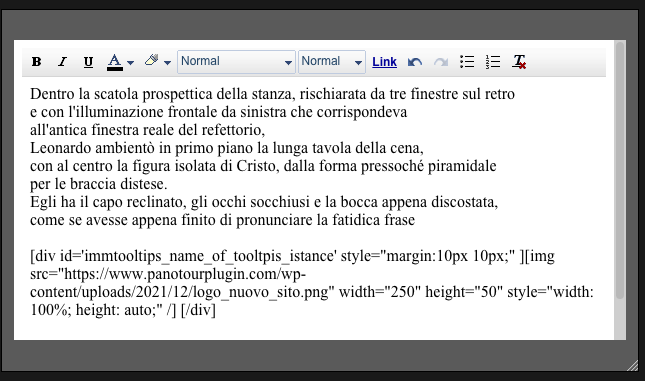
In this section there is a way to display an image in the description.
How you do it?
Copy the string in the field and paste it in the description of the hotspot (it must be activated, see the previous point)
The string is like this
[div id='immtooltips_name_of_tooltpis_istance' style="margin:10px 10px;" ][img src="https://www.panotourplugin.com/wp-content/uploads/2021/12/logo_nuovo_sito.png" width="250" height="50" style="width: 100%; height: auto;" /] [/div]
first you need to change the name to id = “” which will be immtooltips_ + plugin instance name (first point of this guide)
If the instance is called “Tooltips_info”, the text in id = “” will be: immtooltips_Tooltips_info
this is important to have the image deleted in VR automatically (because it is not supported) and optionally in Mobile, for a matter of space.
The other code settings can be changed at will until an optimal size is found. Indicate the path of the file you want to insert, following the instructions in the plugin interface.

Here we can automatically make the Tooltips appear by rotating the scene, they can also be used only for some devices, it is recommended to always use it in mobile and tablet (which do not have the override) and to remove it if it is Desktop as an option.
In some combinations of settings they may not be selectable