This plugin operate with Oculus Browser in Oculus Devices,
works also in webVR, but limited to show big image only onover.
These are the reference in Plugin UI

Enter the name of the hotspot you created for this plugin, I remind you not to use spaces in name and not to use animated icons.

You can show an image spot or set invisible*.
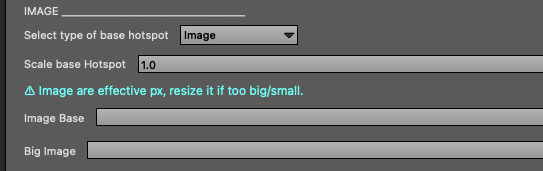
If the set image can load your image base.
Set the scale of the image also if you have selected “invisible” can have a big area active for hovering with a pointer.
The Big image, will be the image pop up.
*Remember to instruct the user that he can find points by going over objects, otherwise he might not see anything and not understand that there are interactive areas. It is always better to use the option to show a Label on hover as well.
Important!
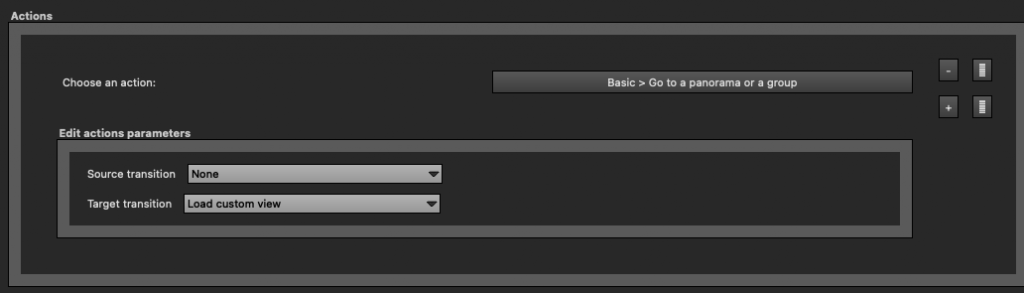
The Hotspot used for VR POP need to have a link to another scene, for internal structure of Panotour, if not have link to another scene, not show hotspots, so if you tour have only one scene load a secondary scene one fake image, always 2:1 ratio.
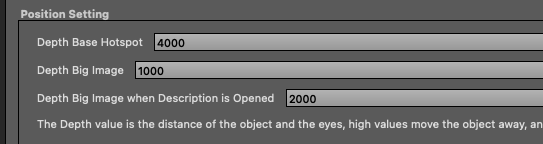
Depth is the distance of an object in space from your eyes to infinity. Example: 100 is attached to your eyes 5000 is far way.
Changing depth changes the size of the object.
Important! These values depend on the size of the original image in px, it is necessary to average this value based on the size
Depth Base Hotspot, is the distance of base hotspot.
Depth of theBig image, when clicking on a hotspot.
Depth of the big image when description is open, this value moves the big image back, when the description will be opened.
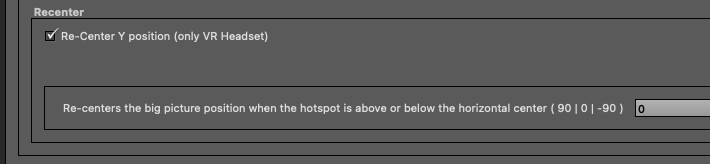
Re-center Y position, in this way you can move y of center of big image in center of screen, even if the hotspot is higher or lower, this prevents image distortion.
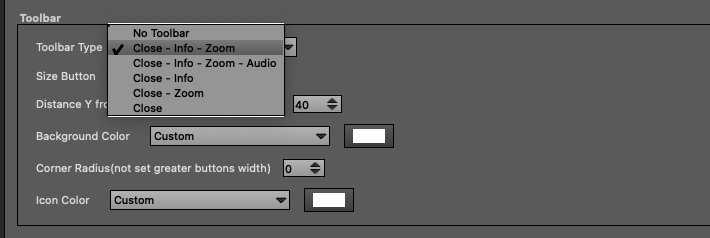
Toolbar Style. You can select different toolbar setup.
This is a limit of Krpano at this moment, I hope in future I will be implementing some possibilities same in non-VR Tour.
Depending on which menu you choose, different options will be shown/hide.
- No Toolbar
- Close/Info/Zoom
- Close/Info/Zoom/Audio
- Close/Info
- Close/Zoom
- Close
You can change the Toolbar settings, icon color, background color, size, style.
The distance Y of the large image from the toolbar, however the toolbar will remain in front of the image.
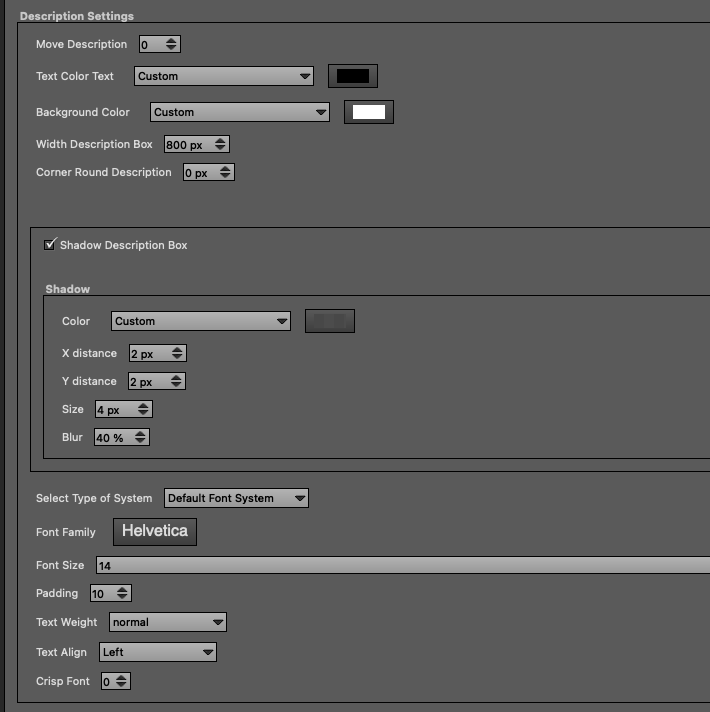
Description Text, also in this case you can set more options for text, and font, with Google Fonts or Adobe Fonts options.
The description is a Spot Description used in Panotour.
Use simple html tag for formatting text, Headings (h1,h2,h3,etc), go to new line <br> etc.
<h2>Hotspot Description</h2>This is a description text<br><br>and this is one new line<br><br>and this other line have double space.
Show Label on Over hotspot, you can have a text pop-up when hover base hotspot.
With the same characteristics seen above for the description
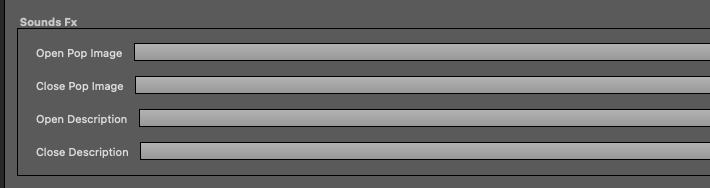
Sound Fx, you can load four sounds for four events, Open Image, Close Image, Open Description, Close Description.
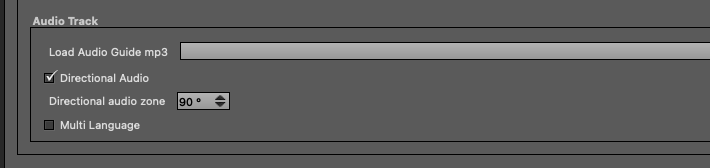
Audio Tracks, you can use one Audio Track like an audio guide.
If there is background music in the scene, it will pause and resume when you stop the audio guide or when the audio guide ends.
The audio can be directional to the point of view and you can set the space of this effect.
If the Virtual Tour is multi-language you can set up to 5 different files.
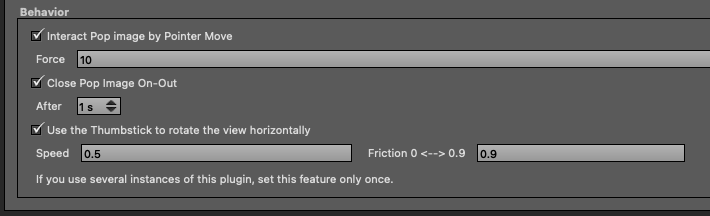
Behaviour
You can interact with the big image by hovering the picture pointers over it, bringing it closer to the point of view.
Close Big Image on onout, close big image when leaving a pointer of it.You can select time after out start.
Rotate the scene with Thumbstick of Oculus Pad, you can select speed and friction ( This setting will only be considered by the first hotspot we will use, it is not necessary to set it on other instances.)
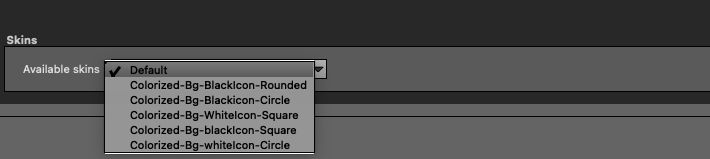
Skins, the plugin have six skin, and file template .ai/.sketch
Note for this plugin
This plugin works for only one image to expand, i.e. if you have 10 images you will need to use 10 instances of the plugin.
It’s not very comfortable but for now it’s the only way to make it work.
I recommend setting the first one as you like and then duplicating it, and changing only the different parts.